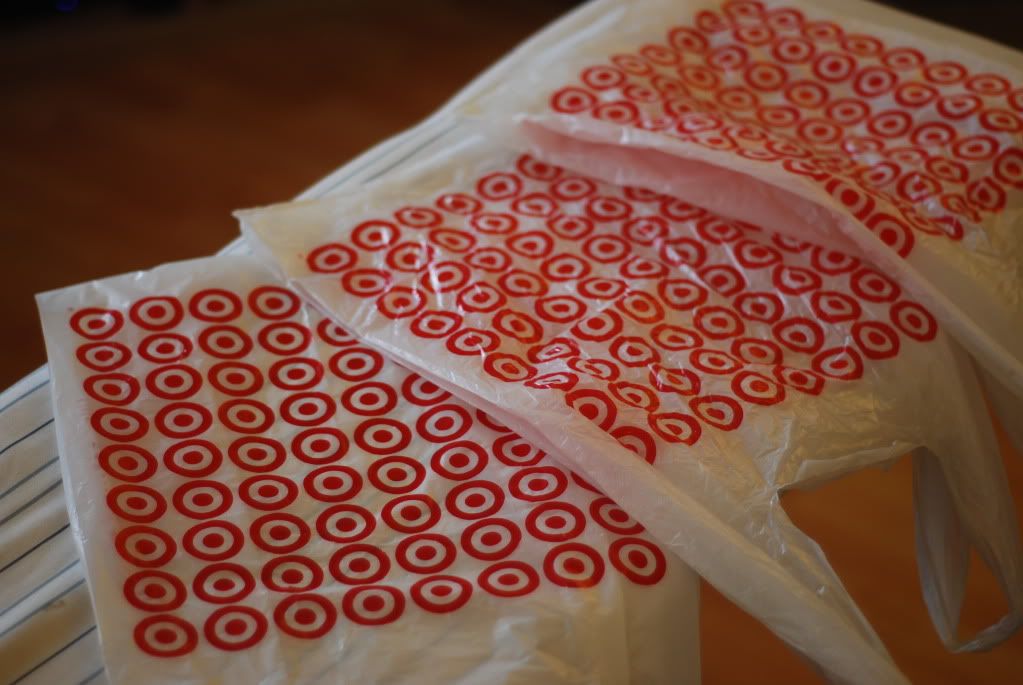
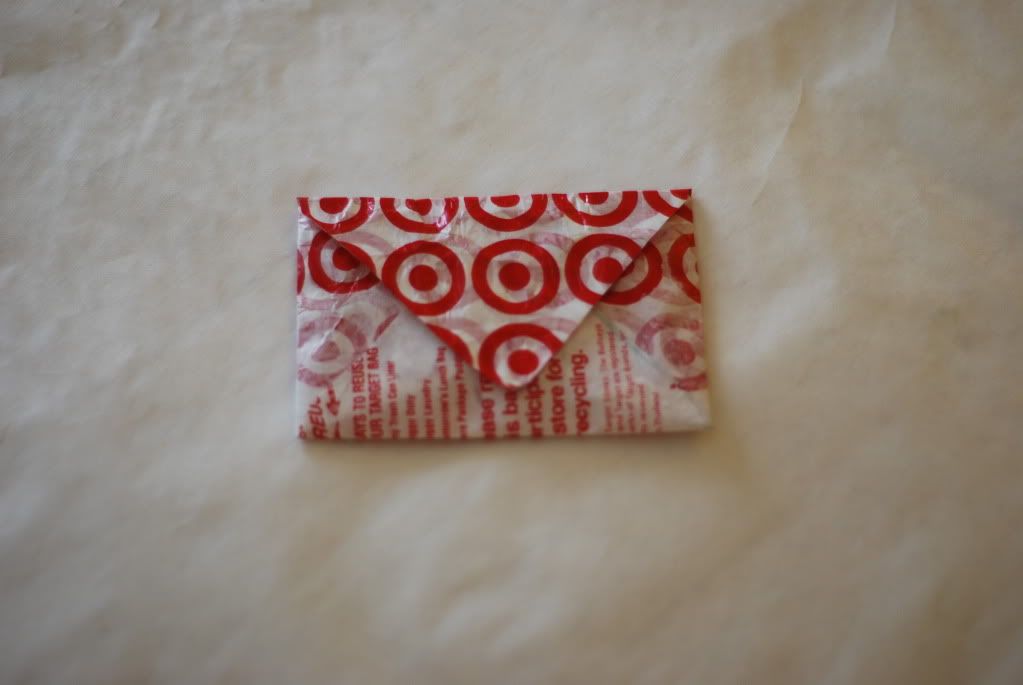
Since we celebrated Earth Day this past April (I'm long overdue!), I figured what a perfect way to share how much I love and take care of the Earth by creating something "mother-nature-friendly". So after thinking and thinking I finally came up with the plastic bag envelope/wallet.
I did a few experiments and have discovered that this project really works best with the Target plastic bags. I tried other store's plastic bags and ended up with hard plastic.
Here's how you make it!
Materials:
- 3 Target plastic bags (or similar material)
- Iron
- Parchment paper (I used butcher paper but be careful when you peel with butcher paper, it sticks)
- Scissors
- Velcro
- Double sided tape or hot glue gun
First, separate the handles by snipping off the very end of each handle.
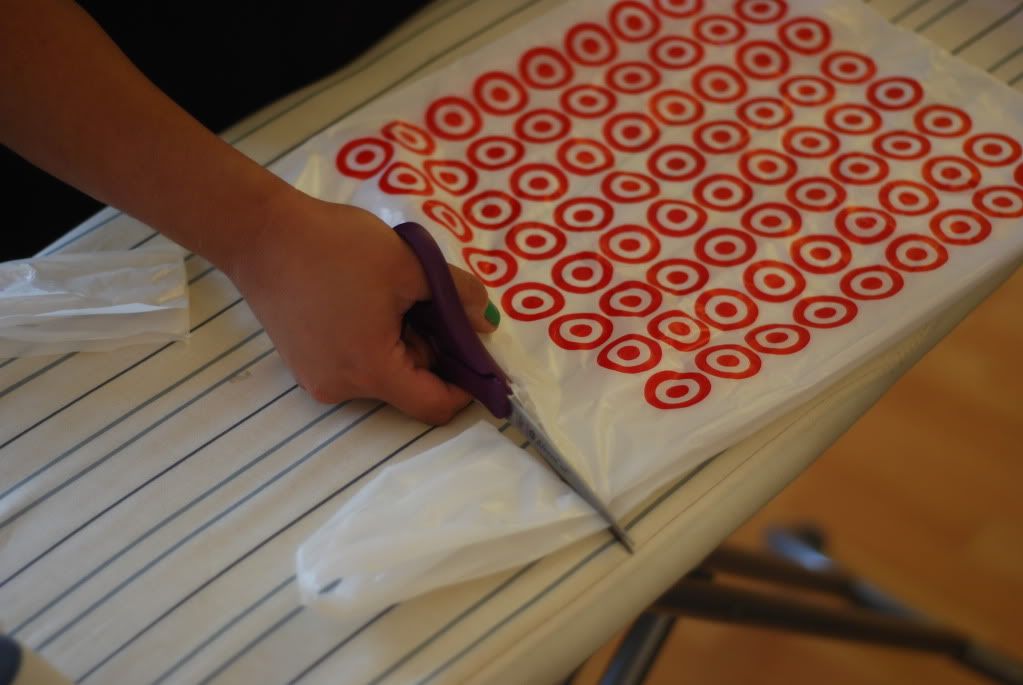
Then, cut off the entire bottom so that bag is no longer a bag. If you placed your oranges inside, it'll just fall right through!

Follow the same procedure with the second and third plastic bags. Once you have all the plastic bags cut, stack them on top of each other.

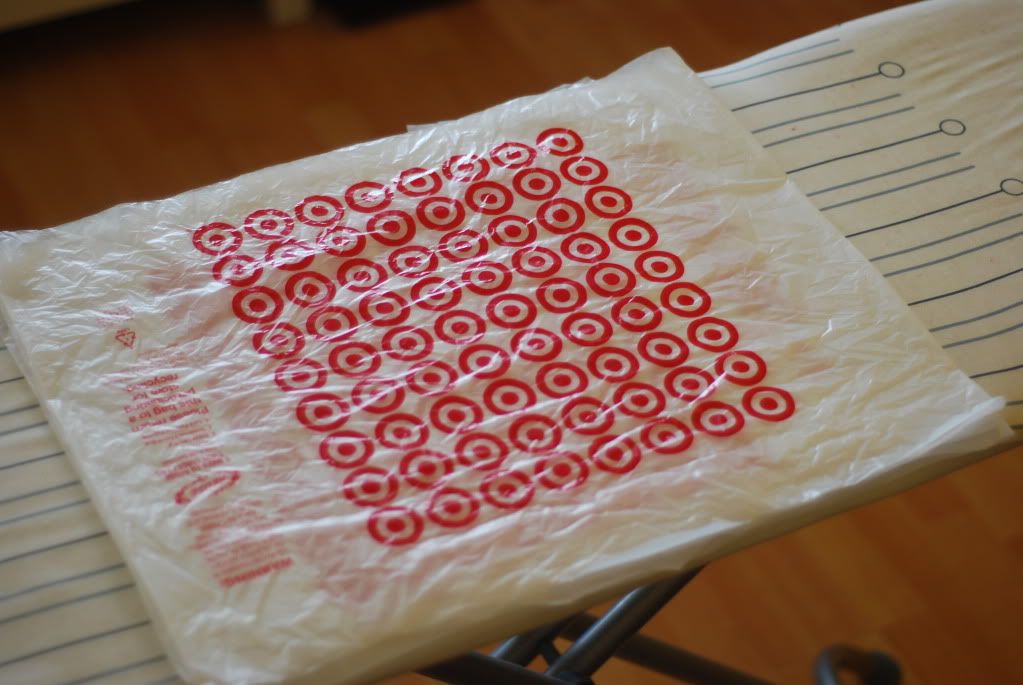
Next, sandwich the plastic bags between the parchment or butcher paper (you can also you paper bags or brown shipping paper).
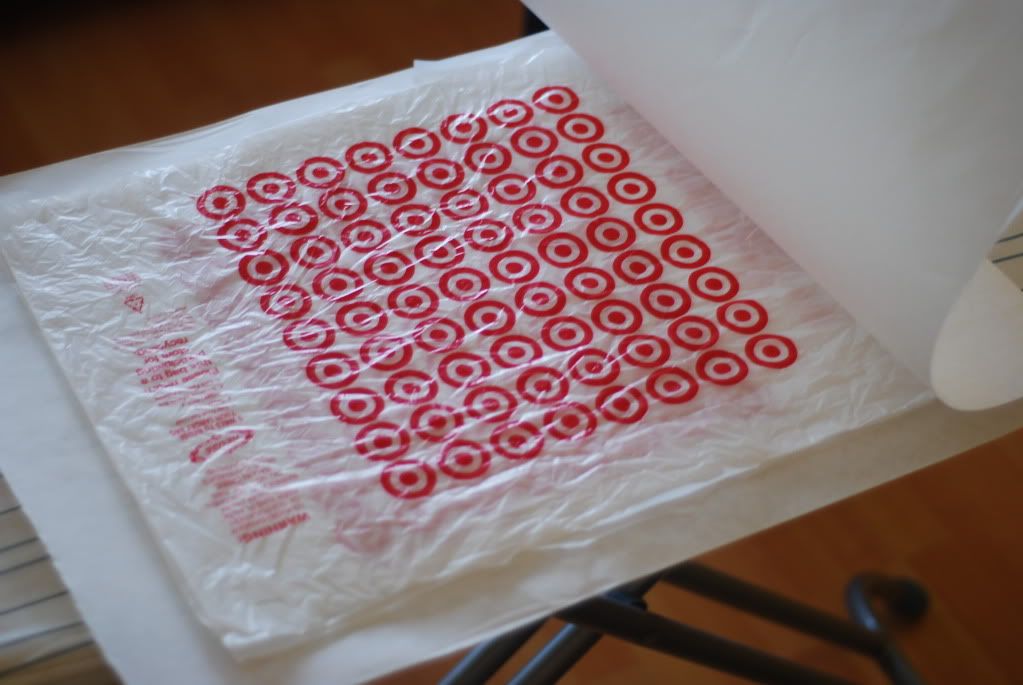
Take a hot dry iron and press over the entire thing. Don't let your iron sit too long or else you'll end up with burnt plastic with a hole! Carefully peel off the parchment paper. Take caution as the plastic is very hot!
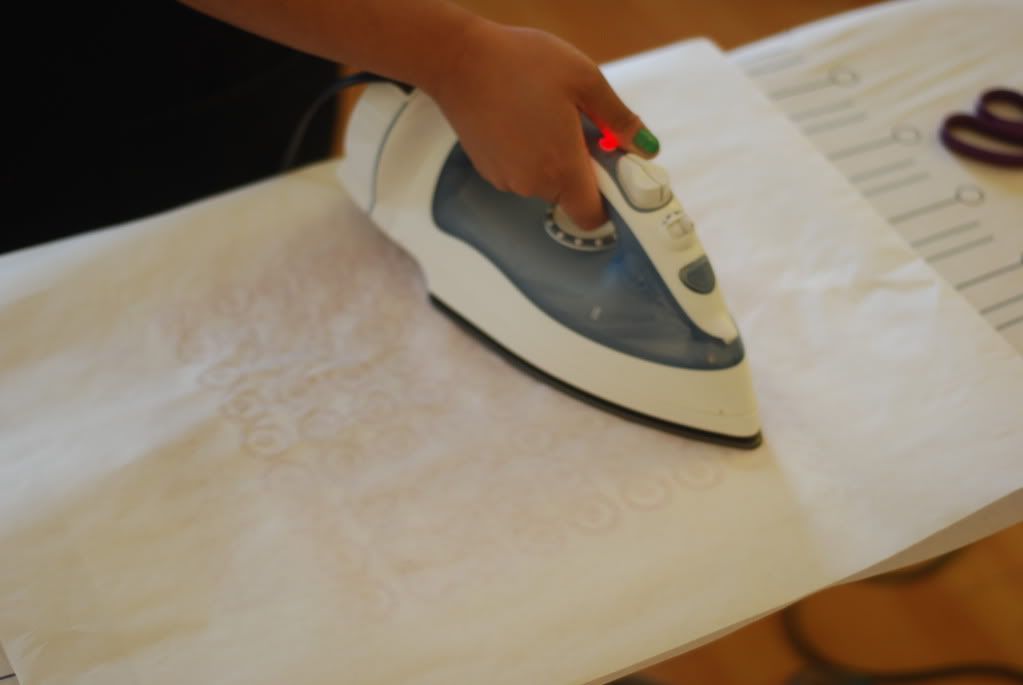
You should have a nice size sheet of plastic "welded" together.

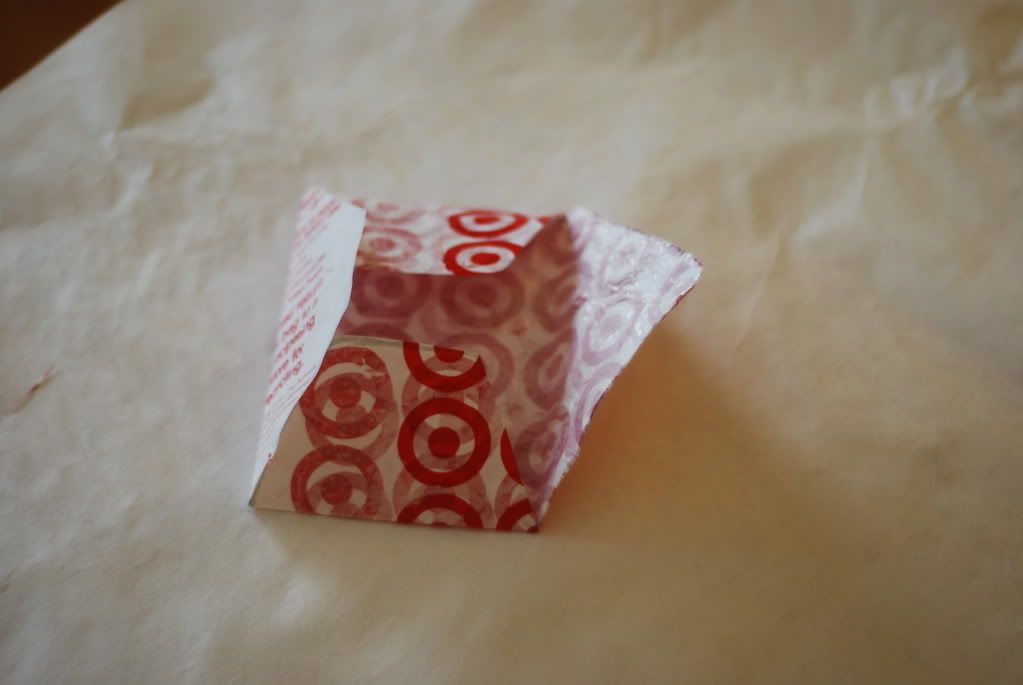
Next, place your template over the plastic material and trace and cut out.


Fold the sides and hot glue or tape together.
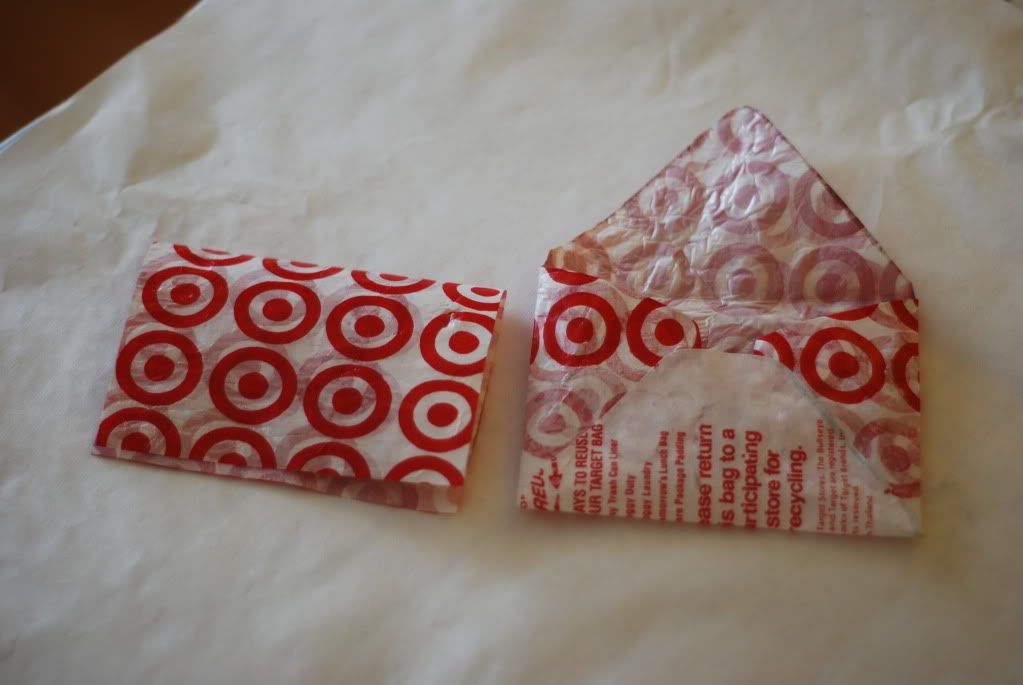
Optional: Take a piece of rectangle chipboard (or your cereal box or cardboard) and place into the pocket. Then, with your iron and your parchment paper between the iron and the plastic, press once more until everything melts together.
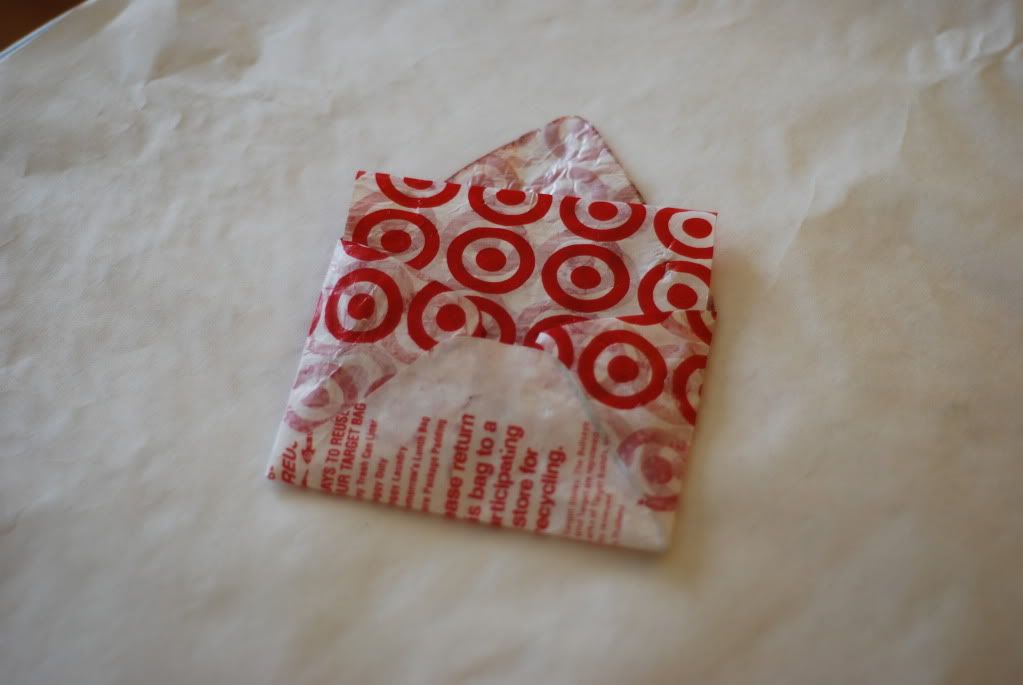
You can also use Velcro to adhere the flap to make the envelope reusable.
With the scraps, you can either make another envelope or create a matching card to with it!
If something is unclear or you need more information, or you simply would like to say hello, please drop me a comment! I'd love to hear from you!
Disclaimer: I'm not sure how "safe" melting plastic is to one's health. Please take caution when doing so by doing this project in a well ventilated space.


This is a great idea! I've made little purses and bags with fused plastic, but I love the way it looks as an envelope!
ReplyDeleteThanks Kirsten!
DeleteI'd love to see photos of your purses and bags! I've made place mats out of the plastic and painted them with acrylic paint.
Thanks for visiting! :)